
- Getting Started
- Before You Begin
- How To
- Access the production URL of an app
- Build a mobile-friendly app
- Debug Apps
- Embed Maps
- Set External Context
- Use arrays to populate Dropdown, Multiselect dropdown, and Radio Button controls
- Use Count with Choice Set values
- Use DataTable with Table and Edit Grid controls
- Uploading and downloading a file using the File Uploader control
- Downloading a file using an Image control
- Downloading a file using a URL
- Use Input Mask
- Notifications
- Using VB Expressions
- Designing your App
- Events and Rules
- Rule: If-Then-Else
- Rule: Open a Page
- Rule: Open URL
- Rule: Close Pop-Over/Bottom Sheet
- Rule: Log Message
- Rule: Show Message
- Rule: Show/Hide Spinner
- Rule: Set Value
- Rule: Start Process
- Rule: Reset Values
- Rule: Upload File to Storage Bucket
- Rule: Download File From Storage Bucket
- Rule: Create Entity Record
- Rule: Update Entity Record
- Rule: Delete Entity Record
- Rule: Add to Queue
- Rule: Trigger workflow
- Leveraging RPA in your App
- Leveraging Entities in Your App
- Leveraging Queues in Your App
- Apps in Studio Web
- Application Lifecycle Management (ALM)
- Basic Troubleshooting Guide
Downloading a file using an Image control
Download an image file from an Orchestrator storage bucket and render it in an Image control using an app variable.
You should know the name of the file, and the storage bucket containing it for the download. The filename may either be obtained from a process, or located in the storage bucket in Orchestrator.
You can use the following image formats for this procedure:
- JPEG
- PNG
- BMP
- GIF
- SVG
-
Before designing your app, go to Orchestrator. Access the storage bucket containing the file you want to download. Copy the name of the file.
-
Go to the app where you want to use this feature.
-
Add a new App variable of the type AppsFile. Name it.
-
From the MainPage, click the Events tab. Click the Create rule button.
-
Add a new Download file from Storage bucket rule to the page's Loaded event.
-
Configure the Download file from Storage bucket rule:
- Click on the Storage bucket field. In the newly opened Resources menu, add the storage bucket containing the file you want to download into the field.
- In the File name field, paste the name of the file from step 1. Surround the name and its extension with quotation marks. For example, "[file_name].png".
- Click on the Assign file to app variable field. Select the app variable you added in step 3. Add the variable to the field.
-
Return to the MainPage. Click on Add control, and select Display. Add an Image control to your app.
-
In the General properties of the Image control, click on the Source field. Add the variable name specified in step 3 to the Source field**.**
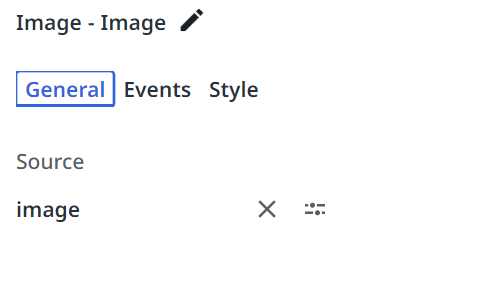
The image is rendered in the image control.